When it comes to summertime, there is nothing like a good party. Nevertheless, how do you make sure that your bash is top-notch? One way to achieve this is by having custom hydro flasks on hand. Hydro-flask parties are a great way to celebrate with friends and blast without breaking the bank. Plus, they make for the perfect photo opportunity! So, consider making custom hydro flasks if you want to add some fun and excitement to your next party. Check out our guide for more information on how to go about doing so.
What You Will Need
-A Hydro Flask
-A printer
-Printer paper
-Copies of your photos or images of the designs you want to use on your hydro flask
-Craft knife or scissors
-Ruler or something equally straight and long
-Sharpie or other marking utensils
-Thread
-Needle and thread kit
How to Make Your Custom Hydro Flask
Hydro flask customization is a popular trend on social media. People love to personalize their gear and add their touches to make it unique. You can do the same with your hydro flask! Here are four ways to customize your hydro flask:
1) Add a design or photo.
2) Change the color of the lid or body.
3) Make a custom inscription.
4) Add a fun element like stickers or charms.
The Perfect Partyhydro Flask Mixes
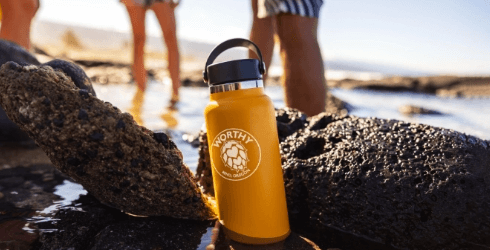
Hydro Flask is the perfect choice for your next party. They are stylish, and their patented insulation keeps your drinks cold for hours. If you want to mix things up, check out our guide to creating custom Hydro Flasks for the perfect summer party.
First, decide on your design. Do you want a patriotic flair? How about a prehistoric scene? You can even go with a fun and whimsical design if you prefer. Once you have decided on your design, it is time to start mixing colors!
You will need an acetate sheet, a 2-liter Hydro Flask bottle (or another similarly sized container), a permanent marker, scissors, and painter’s tape. First, cut out the acetate sheet to fit inside the bottle (make sure to leave some extra around the top). Next, ensure that the acetate sheet covers the top and sides of the bottle.
Then, use the permanent marker to write down your design ideas on the acetate sheet. Be creative! Once your designs are complete, carefully remove the acetate sheet from the bottle and let them dry.
Once they are dried, it is time to mount your designs onto your Hydro Flasks! To do this, use painter’s tape to adhere one side of each design to one side of an open Hydro Flask lid. Make sure each design faces inwards so they will show through when filled with drinks!